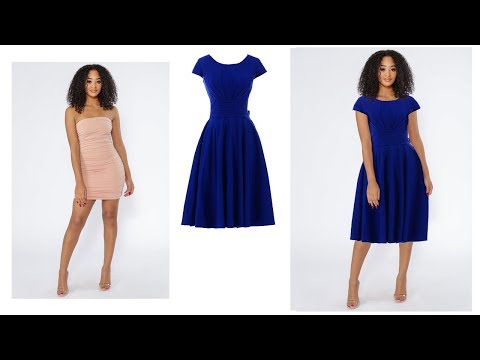
Step 1: Open Image in Photoshop
Step 2: Make a Copy
Duplicate image CTRL + J
Step 3: Import Shirt Image
Navigate to File > Place Embedded > select shirt > Place
Step 4: Resize and Position
Resize and reposition shirt as needed. Once you satisfied with the result press check or enter.
Step 5: Reduce Opacity
Reduce opacity of the shirt so that the underlying garments outline is visible.
Step 6: Select the Curvature Pen Tool From the Toolbar
Select layer 1 in the Layers panel and the curvature pen tool from the toolbar.
Step 7: Make a Selection
Make a selection using curvature pen tool.
Step 8: Make the Blue Shirt Invisible
Click the eyeball icon of the blue shirt and continue to make selection.
Step 9: Complete Selection
Once the selection is done, right-click and select Make Selection.
Step 10: Layer Mask
Click the New Layer Mask button in the Layers panel to create a mask that reveals the selection. To move the mask to layer 1, drag the mask to the layer 1.
Step 11: Delete Shape Layer
You can delete the Shape layer as we won’t need it anymore. Right-click the Shape Layer and select Delete Layer from the menu, alternatively you can select Shape Layer and press delete on the keyboard. If you followed all the steps correctly, you should get a file that looks a lot like what you see in the image above.
Step 12: Clipping Mask
To create a clipping mask hold down Alt (Option in Mac OS), position the pointer over the line dividing two layers (the top layer and the middle one) in the Layers panel (the pointer changes to two overlapping circles), and then click.
Step 13: Open Select and Mask
Select the mask thumbnail and click the Select and Mask button in the Properties panel to open the Select and Mask workspace.
Step 14: Refine the Mask
Select the Brush tool on the left, check that the Plus icon is enabled at the top of the workspace, and paint over a hidden area you want to bring into view. Switch to the Minus icon and paint over an area you want to hide from view.
Click OK to save the changes.
Step 15: Almost Done
Select layer 1 image thumbnail, brush tool from toolbar panel and color black (cause the underlying shirt is black). And paint over the semi-transparent areas.
Step 16: Select Blending Mode
Select top layer .
At the top of the Layers palette, you’ll see an option that says Normal. Click the drop-down menu to see all the available modes. Go trough the blending modes to see which one suits your image better. I picked Lighter Color blending mode for this tutorial.
Step 17: Add Vibrance
To the right of the Layer Mask icon at the bottom of the Layers panel is the New Fill or Adjustment Layer icon. It’s the icon that looks like a circle split diagonally between black and white. Clicking on it opens up a list of fill and adjustment layers you can choose from. Select Vibrance from the list.
It’s the final step of this tutorial, I hope you liked it.

