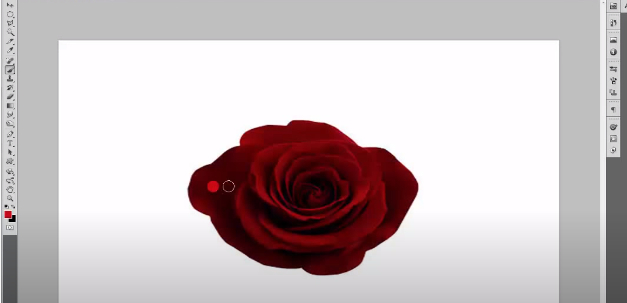
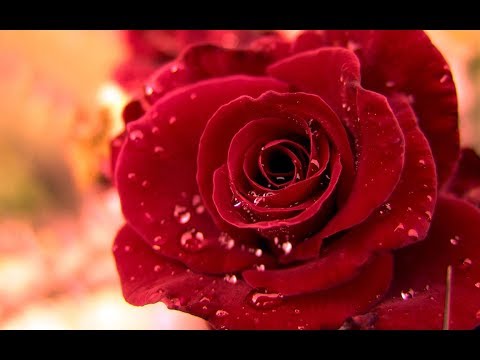
Step 1 > Open Image
Open the image you want to add water drops. For this tutorial, i used a green leaf but you can use metals, glass, and other similar surfaces.

Step 2 > Make Shape
First, create a new layer by going to Layer > New > Layer (Shift Ctrl + N) and name it “Water Drops”. Pick the Ellipse Tool (U) and fill it with black to white gradient and -70 Angle. Finally, change the blending mode to Overlay.
Step 2 > Blending Options
Right click on the water drops layer and press “Blending Options” in the new tab add the following values:
Drop Shadow: blending mode = linear burn, opacity = 32, angle = 90, distance = 8, spread = 0, size = 6.
Inner Glow: blending mode = linear burn, opacity = 33, noise = 0, choke = 0, size = 2.
Inner Shadow: blending mode = linear burn, opacity = 16, angle = -53, distance = 3, size = 3 and press OK.
Step 3 > Add Highlight
Ctrl + click on Water Drop layer to select it and create a new layer with the name “Highlight 1”. Pick a small soft white brush with size 33px and draw on top of selection. Change the blending mode to Overlay.
Step 4 > Add Second Highlight
With the water drop selection still active create another layer and name it “Highlight 2” With smaller brush add another white dot with size 22px and 0 hardness. Press (Ctrl + D) to deselect. Your water drop is almost ready.
Step 5 > Group All Layers
Press (Shift) and select Water Drop, Highlight 1 and Highlight 2 layers. Press (Ctrl + G) to group them. Rename the Group 1 to Water Drop 1.
Step 6 > Add Drops
Duplicate the “Water Drop 1” group and transform it by pressing (Ctrl + T). Move the new group and repeat the same process to create the water drops.
Conclusion
Create more water drops in different shapes and sizes to make the image more realistic. Add more highlights and follow the direction of light.

