INTRODUCTION
If you’re learning ps and still getting familiar with its many tools, the pen tool is a great place to start because it only requires you to click and drag, and you can easily create impressive effects with your images.
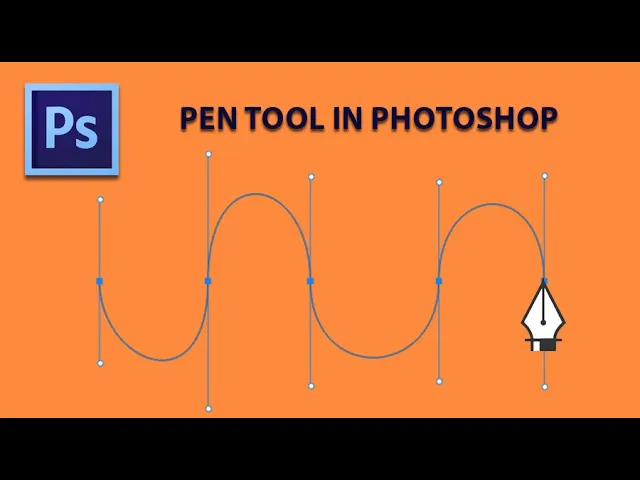
The pen tool in Photoshop is a highly versatile feature used to create your very own vector shapes and make custom selections. With Photoshop’s pen tool, you can create silhouettes by outlining objects, cut portions of an image out of the background, and combine lines and curves to make easily scalable images.
If you want to pursue a career as a graphic designer, being comfortable with the pen tool in Photoshop is a must. A professional graphic designer may rely on the pen tool to help them single out part of an image and remove it from its background, to give it a transparent background, or to place it on a new image.
Step 1: Open a new Photoshop file
To start, create a new Photoshop file, name it, and set it to any size you feel comfortable working in. We’re just going to be experimenting in this tutorial, so you can work with any file size.
Step 2: Select the pen tool in Photoshop
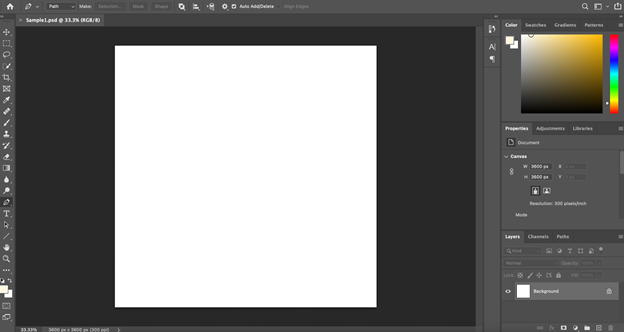
Next, select the pen tool in the toolbar on the left, represented by the fountain pen icon. You’ll find it in the same section as the path selection tool, horizontal type tool, and polygon tool. You can also simply press P to bring up the pen tool immediately.
Step 3: Set up shape layers
In your Photoshop file, create a new layer to work in. Go to the pen tool icon at the top of your window, and select the drop-down menu to the right of the icon. You will see three options: shape, path, and pixels.
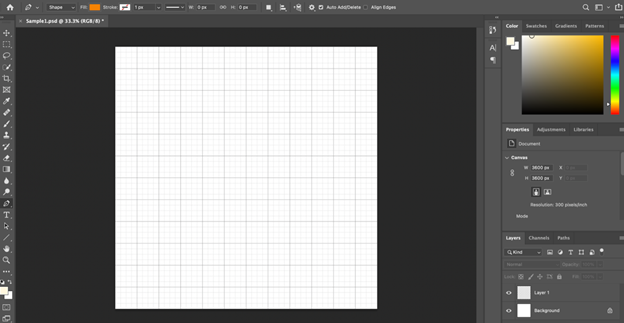
Select the “shape” option since we’re going to start this tutorial by drawing shapes. Choose a fill color for your shape.
This next part is optional: If you’d like to work in a grid to make plotting points more precise, press Ctrl+’ (the apostrophe key), and enable snap by pressing Shift+Ctrl+; (the semicolon key). Or, simply go to View in the menu at the top, and select “Snap.”
Step 4: Plot points to create a shape
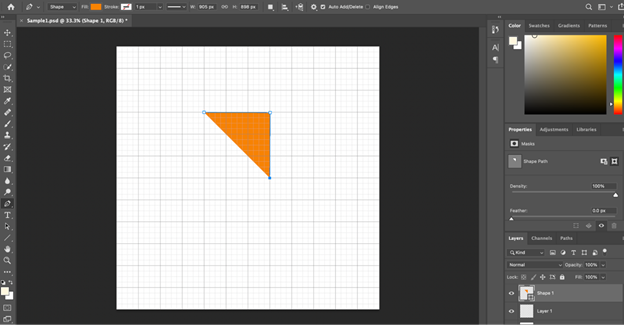
By clicking around on your blank page with the pen tool, you can start plotting points on your grid to create your shape. To plot a point, you don’t need to click and drag but simply click and release your mouse. You’ll notice that the tool will automatically create straight paths between the points that you plot.
Think of this as a game of connect-the-dots. You can start to visualize how your image consists of various points, with a straight line connecting each point. As you plot these points, the pen tool will automatically begin filling the image in with the fill color that you chose.
In the example below, you can see the makings of a very oddly proportioned gold star. Don’t worry about whether your shape is symmetrical or polished. This is just an experiment.
Creating a curve with the pen tool
Not all paths have to be straight lines—they can be curved as well.
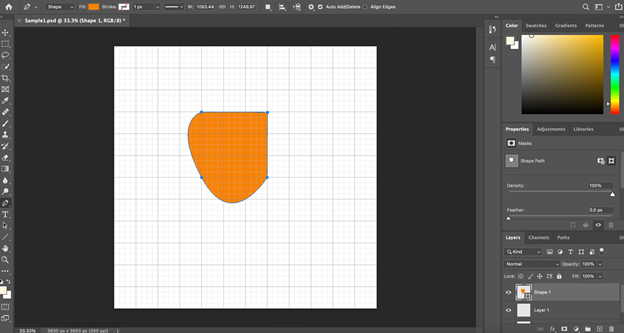
Try plotting a new point, and then click and drag your cursor, rather than releasing your click. You’ll notice something interesting: that point will become an anchor for a curved line.
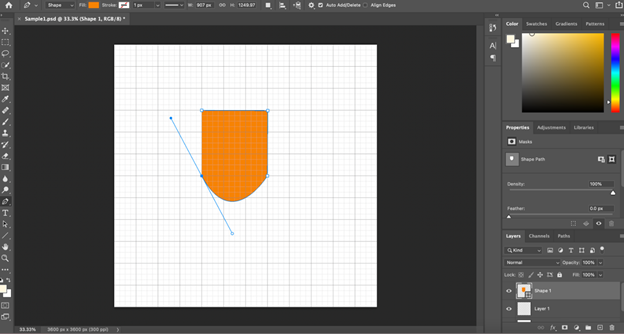
You can manipulate this curve as long as you hold down the left click button after placing the point.
You can use this technique to create a curve and make organic shapes, rather than rigid shapes composed only of straight lines (like our star example).
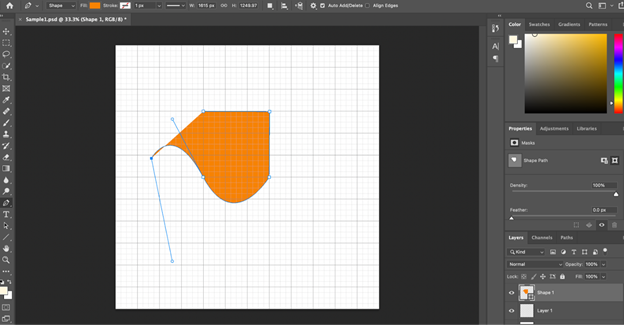
Creating a straight line after a curved segment
What if you want to create a curve in one spot, but you don’t want the next portion of your path to curve? The Photoshop pen tool allows you to interrupt a curved line, so you can add a straight line as the next segment of the path.
To do this, hold ALT (or OPTION on a Mac) and click on the point. The second handle of that point will disappear—this means the point is now cornered or interrupted from curving. The next point you set now will be a straight line.
Step 5: Close the path to complete the shape
Once you’re ready to connect the final dot and complete your shape, simply click the very first point you started with. This will close the path you’ve created or the set of lines stemming from your first point and wrapping back around to the same point.
When you hover over the initial point for your shape, the pen tool endpoints will appear with filled-in blue squares will appear with a small circle next to it.
