1. Use a Proper Image
There are some demands that an image should meet in order to be used in this tutorial for example. It is worthwhile mentioning that monochrome background is valuable and more preferable.
There would be less troubles when working with a portrait photo of such kind. Grass or leaves, or any other texture on the background will only complicate the whole process. Consequently, neutral background is better.
2. Duplicate a Layer with a Photo
After importing the photo to the software, drag the “Background” layer on the New Layer icon.
3. Remove the Background
In the latest Photoshop versions, you can find a tool that allows you to quickly remove the background. To apply it, go to Window > Properties and find the “Remove Background” option.
4. Apply Layer Mask
Right-click on the background to see a black-and-white icon in the Background copy layer. Then select Apply Layer Mask.
5. Create a New Layer
Add a new layer between the existing ones by clicking on the “+” icon in the bottom part of the Layers window. It’s important to place the new layer between other layers and not above them.
6. Select the Landscape You Are Using
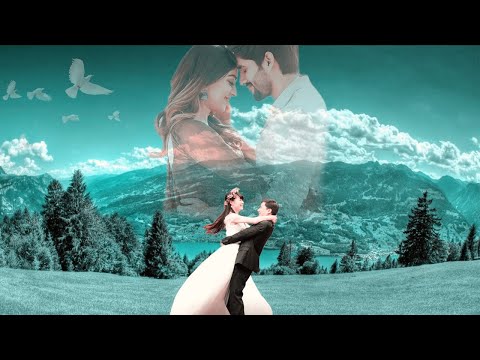
As it usually happens, I also picked up the second image in a photo stock. There is a tendency to create such an effect in combination of a portrait with landscape (trees, lakes or mountains even city suburbs images are pretty good for creation of surrealistic vision).
Open any landscape photo of your liking in Photoshop and add it above the existing layers.
7. Add an Image to Your Portrait
Press Ctrl (Command) and click on the layer with a cut-out subject without the background. You will see the outline, just like in the example.
8. Create a Vector Mask
Next, it’s time to create a vector mask. Select the landscape layer and click on the Mask icon (a gray rectangle with a black circle). This way, you can cut out a part of the landscape that was inside the silhouette. The rest of the photo will be deleted since you have no use for it anymore.
9. Duplicate a Layer
After the main job is done, duplicate the layer with a girl to create a “Background copy” and place it over the rest of the layers.
10. Change the Blend Mode
Since the silhouette of the girl is blended with the selected background, you need to select a different blend mode to make the outline more visible. In the Layers window, select Normal and then click on Screen in the drop-out menu.
11. Open Levels
If you need to raise contrast, go to Adjustment Layer – Levels. You can find the Levels menu by clicking on the black-and-gray icon at the bottom of the Layers window.
12. Adjust Levels
To achieve a beautiful effect, you need to adjust Levels in the way it has been done in the example above.
13. Edit the Head of the Portrait
I want to make the image more surrealistic. On this purpose, I will edit the head of the portrait. Being armed with brush and Airbrush I start painting white. Do not be nervous because of red color on the image I show to you. It is just because I want you to see where and what I am doing.
For a more eye-catching effect, make sure to use creative brushes instead of regular ones. For instance, you can use a cloud, paint drip brush or any abstract-shape brush.
14. It’s Done! Your Work is Ready!
Enjoy the result! Now, you can freely experiment with this effect since you know how to apply it after reading this detailed tutorial.

