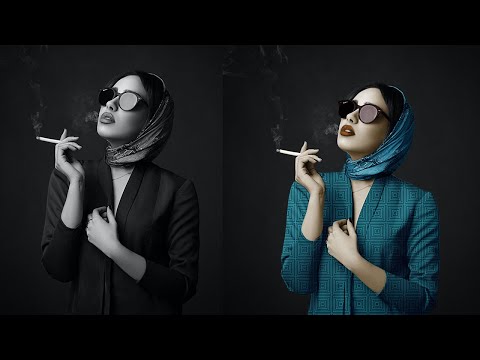
The first steps to colorize images.
Whatever your motivation for colorizing, the basics are generally the same.
1. Create a new layer.
Get in the habit of creating a new layer before you touch your source image, so you always have the original.
2.
If you’re working with an old photo, the first thing you should do is clean up the image. You can do this easily by making slight adjustments to the Radius and Threshold levels until the little flecks are gone. If that doesn’t remove all of them, you can always create a layer mask to paint over any remaining flaws.
3. Neutralize the color and adjust the contrast.
If the photo is sepia-toned, add a Black & White adjustment layer to neutralize the color
Images by Debra Hammond
A few (of the many) techniques for adding colour.
Option A:
This method involves adding a Solid Colour adjustment layer for every aspect of the photo you want to paint. Change the blending mode to Colour so the details of the original image show through the paint. Invert the layer mask to black and use the brush to paint over the part of the image you want to colorise.
Option B:
Once you’ve created a new layer, use the Quick Selection tool to outline the area you want to colour. You might need to zoom in to fix any areas selected accidentally. Click the
SELECT AND MASK button to smooth the edges of your selection. (The Refine Edge tool is also great for colorising fine details like hair.) Then add a new Solid Colour Fill layer, choose the colour and set the blend mode to Colour. Then you can simply adjust the colour until it looks right. Repeat this process for each element in the image.
You can also add colour by creating a Curve adjustment layer. Find the colour you want by adjusting the cyan, magenta and yellow curves and then use the brush to paint. Create a new layer for each colour.

